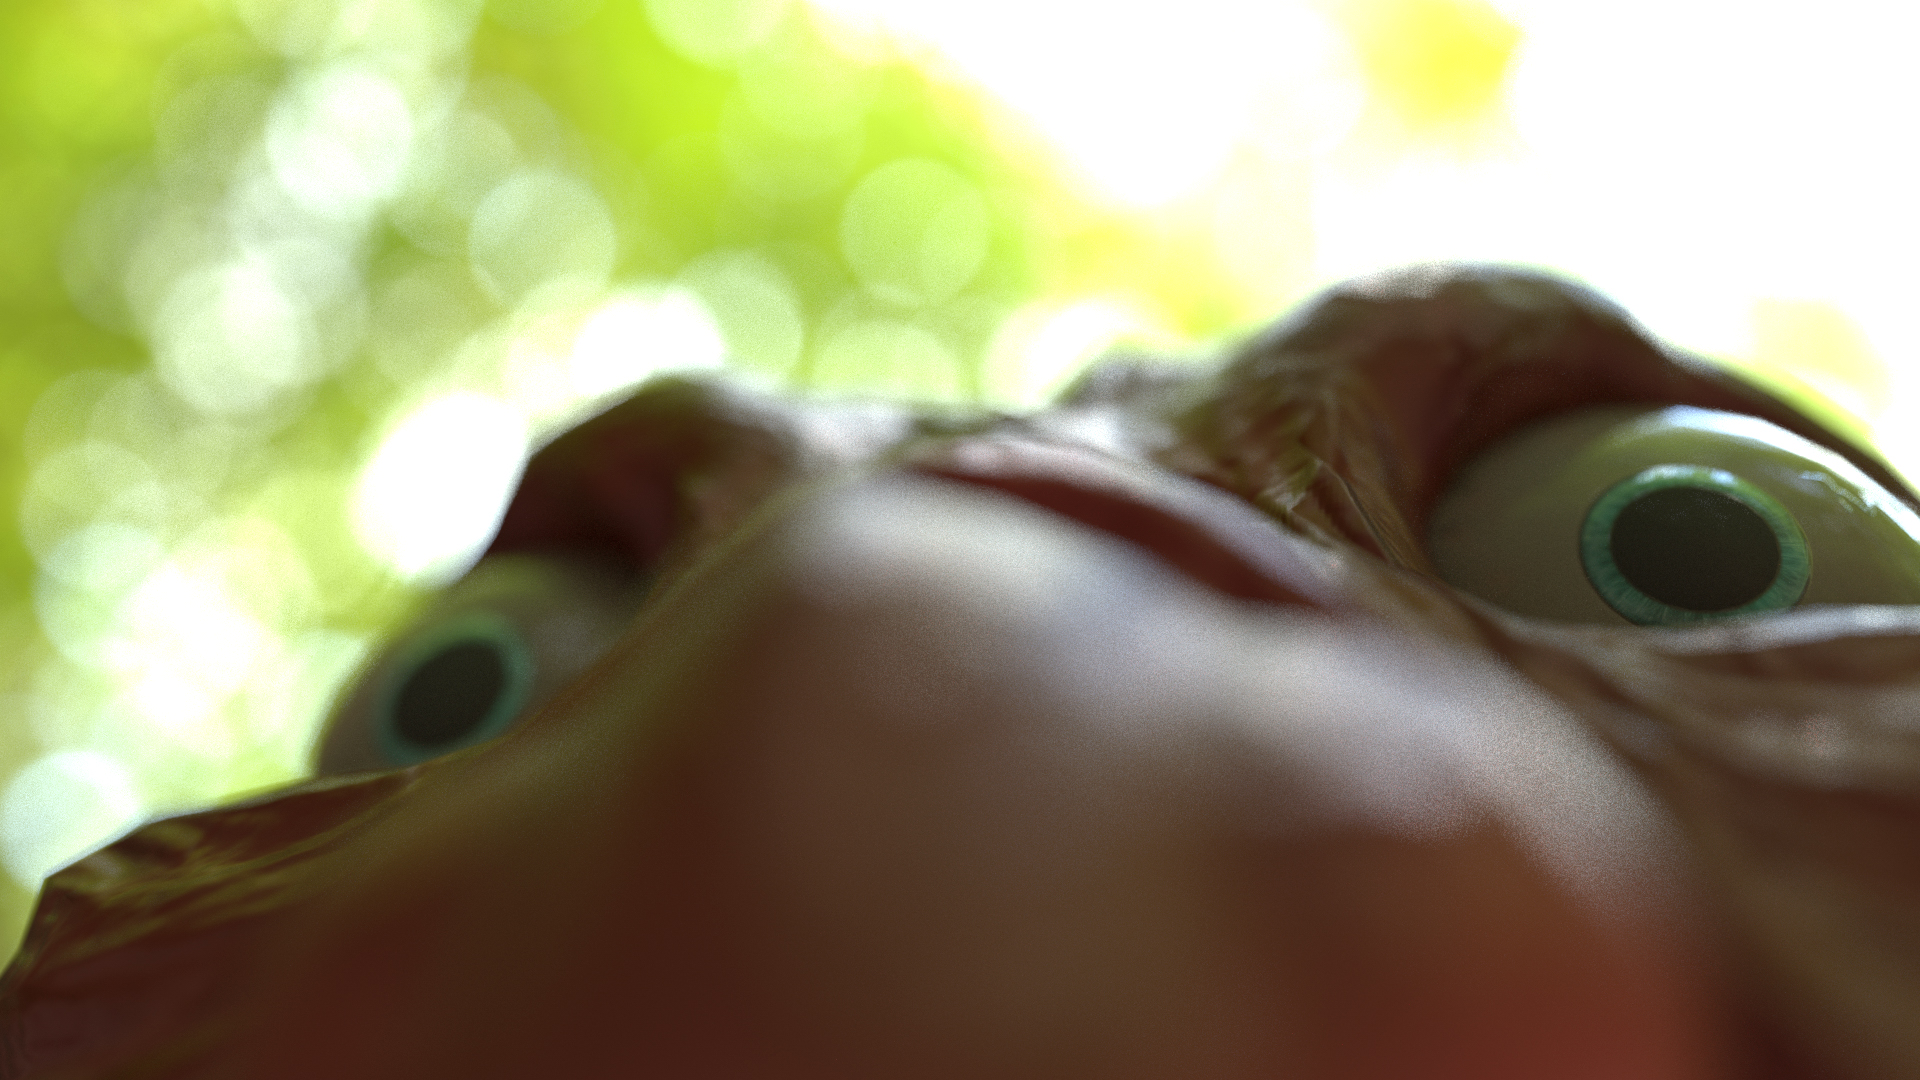
Anyway, on the left you see the current state of the Alzheimer Dog creature. Working on 1-2k maps, and exporting the final maps in 4k(which are used in the render on the left). Another feature of substance painter is that every stroke, every color, every effect, is procedural. So you can paint low res with low memory consumption and as soon as you increase the resolution of your project textures, SP will recalculate everything accurately to the correct resolution, thus boosting quality and detail. (Most software simply use an upscale technique similar to Photoshop, which averages pixels to fill in the gaps, thus losing quality).
On the right side you see the first iteration of the “Alzheimer dog ” model. It is the smoothed base, which will be used for sculpting. A low poly retopo will be based of that sculpt.
The pipeline I follow: Base model in Maya -> High/dense poly detail sculpt in mudbox -> re-topology in TopoGun -> unwrap low poly uv in Headus UVLayout -> Bake normal and cavity* maps in Xnormal -> Paint mesh textures in Substance Painter (generate textures with bitmap2material or substance designer) -> Rig for animation -> Import in Unity.
Although the base is modeled in quads, edge flow was not “so” important yet. Of-course it is always good to have your edges as clean as possible, just for modeling ease, it is not that much of an issue if it isn’t consistent. This is because of the above mentioned sculpting process and later re-topology, in the retopo fase the focus is all about quad count and edge-flow.
*Cavity maps can be seen as the little lighter brother of Ambient occlusion maps. Unlike ambient occlusion maps, cavity maps are more of an approximation, rather than a ray-casted render. Cavity maps are good to be used on the diffuse maps (albedo), to push out the details (little wrinkles, impurities in skin, etc..). In my personal experience, they also give an overal more “correct” result when multiplied over the diffuse map.
subsurface scattering and to see how the textures behave in different lighting setups.
The re-texturing process of the player mesh is now finished (need to tweak some minor overlapping uv errors), so I can now start
prepping the textures for Unity 5’s realtime pbs shaders (which is going to be painfully irritating if I can’t get the specular map right this time).
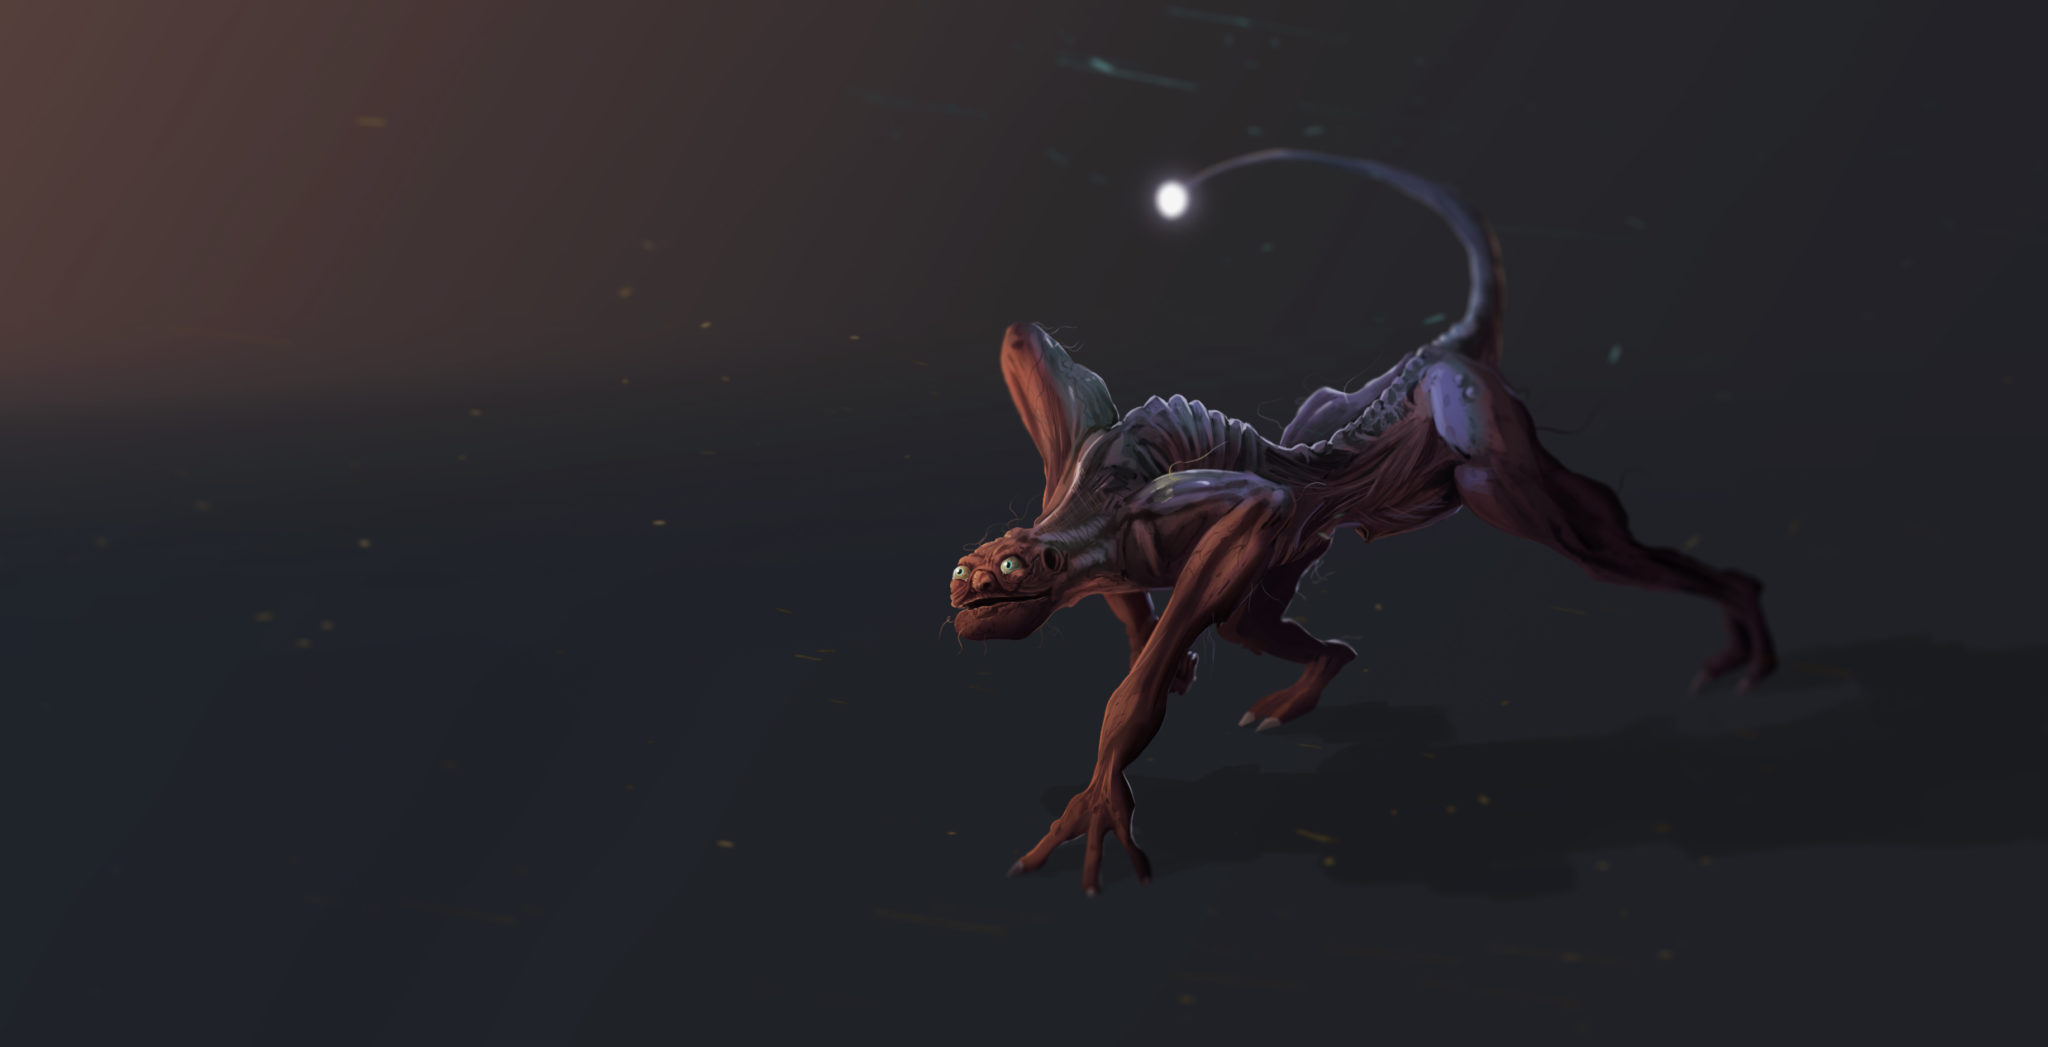
This dog like creature uses a similar “bait technique” as its larger brother (you can find that one below). Both their lures are based on the hunting technique of the angler fish. The player is lured towards the dog by the light, and once the creature is within distance it will instantly hunt down the player (most of the time killing him).
Once close enough the dog tries to distract its prey by looking it straight in the eyes, this will create most of the time some sort of “stunning” effect on the player (think about snakes staring at its prey). Once it notices that the player is distracted, it will once again go for the kill.
The human like facial features are meant to push the dog towards the uncanny.
It is possible that once in Unity, the specular map becomes redundant and might be replaced by a single color (gray value). This is because in Unity the specular map defines a material, rather than actual specularity. It goes from non-metals (black) to metals (white). Because of this the specular map might behave not as intended and act as a “metal mask”. A single color value will prevent this from happening (this can be overlayed with opacity) and the alpha channel will be used to store the reflective map (glossy/roughness).
But this is all still speculation, I have to run some material tests inside Unity to smooth out this workflow.
The reason why the player’s head and body have reflection, is to mimic being wet.
Also worth nothing is that the player is low to medium poly. It seems high poly because of the normal maps applied (baked from high res mesh).
Although it looks nice it is close to the “uncanny valley”, which is not necessarily a bad thing.
I did encounter some problems, for instance, fbx exports do not work. I have to use maya binaries to keep the rig skinning intact. This is not a problem however.
Also, the animation when finished, has to be baked and every control needs to be deleted. For some reason the controls interfere with the rig tree structure. This is not a problem as every animation will have a separate Maya file anyway. My workflow will consist out of two files per animation: One work file with the controls and one file prepared for unity import (this is a copy of the work file with all animation baked and controls deleted.
The new rig gives a much more natural result and reduces the process of multiple joint keying. A few controls keys can now easily create complex animations.


